
Stairs Concentrate Every Important Deck Decision
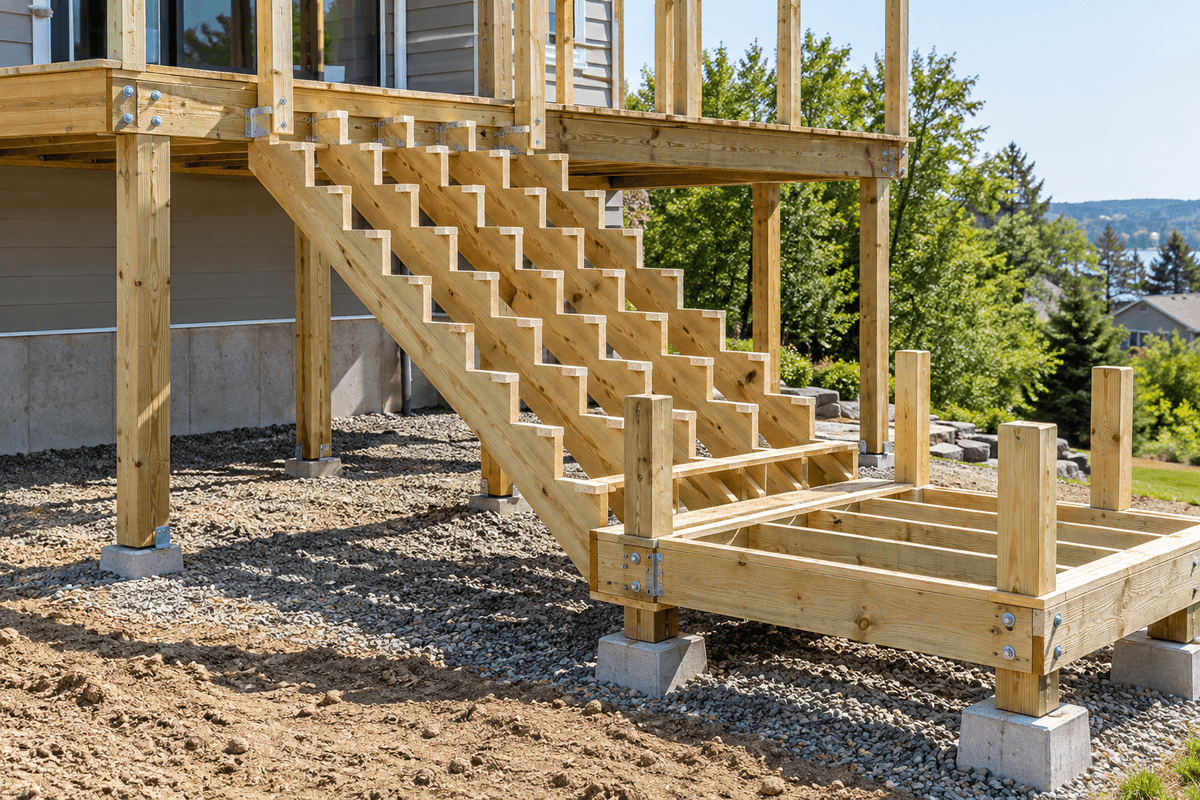
Composite decking stairs carry repeated foot traffic on narrow surfaces where a small error is easy to feel. Board stiffness, stringer spacing, tread depth, riser height, nosing, drainage, fasteners, lighting, and handrails all meet in the same assembly. A board that works well across the main deck field still needs a stair detail approved for that exact product.
Begin with the local code and the manufacturer's current installation guide. Do not copy dimensions from a neighboring deck or an online photo. The installation planning guide, joist-spacing article, and composite board selection guide resources help connect the selected board with the structure it requires.
Consistent Geometry Matters More Than a Decorative Tread
People adjust their stride to the first step and expect the remaining steps to match. Uneven risers or inconsistent tread depth can create a trip hazard even when each individual difference looks small. Measure the total rise at the actual landing location because sloped ground can change the result away from the deck.
Include the final tread thickness, landing surface, and any riser material in the layout before cutting stringers. A later change from wood to composite can alter finished dimensions. Have the stair design reviewed where required instead of trimming one step to absorb an error.
The Board Determines the Stringer Layout
Composite stair treads often require closer support than the main deck field. The allowable span depends on the board collection, profile, orientation, and application. Solid and scalloped profiles should not be treated as interchangeable, and a fascia board should not be used as a structural tread unless its documentation explicitly permits it.
Draw every stringer centerline before ordering framing. Show the support needed below tread joints, borders, posts, and risers. The joist-spacing article article explains why adding one support after the stair is assembled rarely produces the same result as planning the frame first.
- Confirm local stair, guard, handrail, landing, and permit requirements.
- Use the exact board collection's approved stair span and fasteners.
- Calculate finished rise and run with all tread and riser materials included.
- Provide support for board ends, borders, posts, and lighting components.
- Check every step for consistent geometry before installing fascia.
Two-Board Treads Need a Drainage and Fastening Plan
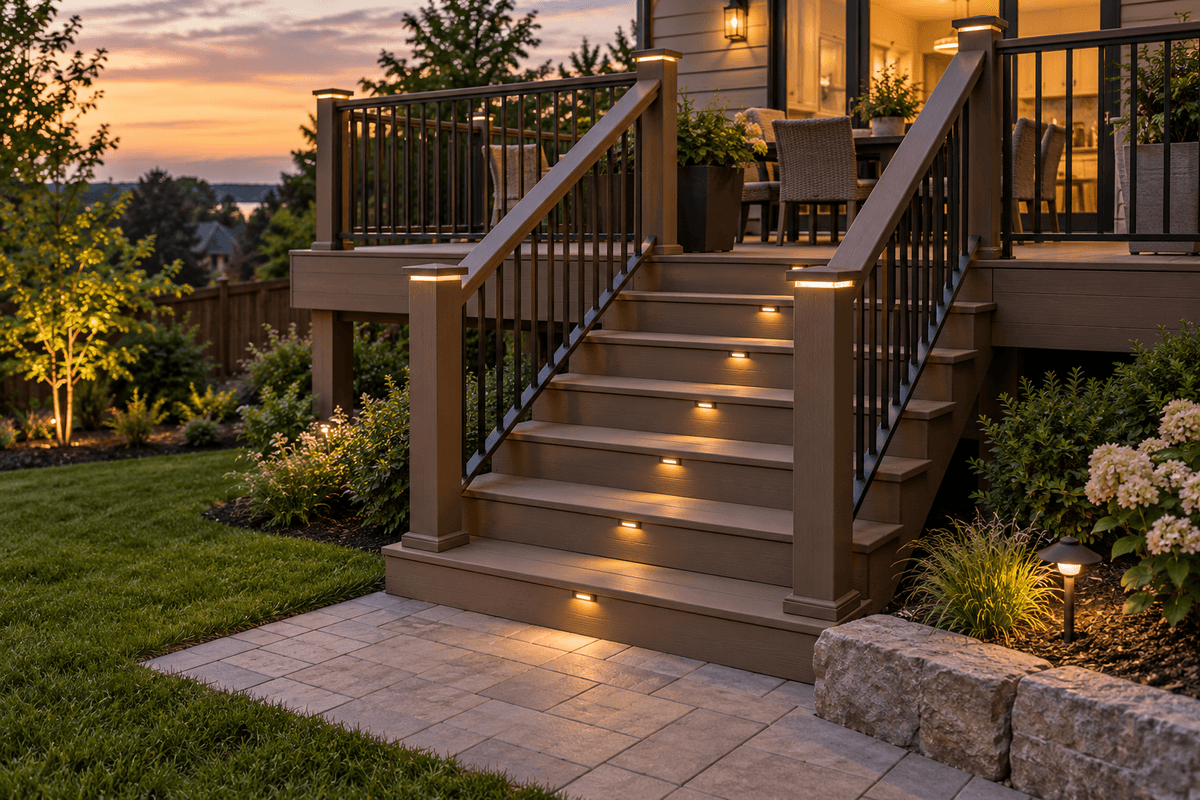
Many deck stairs use two deck boards to form one tread. The gap between them must follow the approved detail so water and debris can pass while the tread remains comfortable. Board ends and outside edges may require face screws, plugs, routed grooves, or square-edge boards rather than the field-deck clip pattern.
Keep fasteners away from vulnerable cut edges and predrill where the manufacturer requires it. The hidden-fastener guide, expansion-gap guide, and deck edge guide guides help map the transitions before the first tread is cut.
Traction Changes With Water, Leaves, and Frost
Stairs deserve more attention than a level deck when wet. Choose a suitable surface texture, keep gaps open, and prevent roof runoff or irrigation from repeatedly soaking the flight. Leaves and fine debris can form a slippery layer over any board. The wet-traction safety article article provides a wider wet-surface checklist.
Use only approved ice treatment and nonmetal removal tools in winter. A coarse aftermarket strip may seem useful, but adhesives and fasteners can affect the board or warranty. Confirm compatibility before adding traction products.
Handrails, Guards, and Lighting Are Part of the Stair
Railing posts need structural support, not attachment to decking alone. Plan post blocking and connections with the stair frame, and confirm where a graspable handrail is required. Decorative rail panels do not automatically perform the same function as a code-compliant handrail.
Lighting should reveal tread edges and landings without glare. Route wiring before surfaces close the frame, preserve drainage, and use components rated for the location. Future access matters because a failed fixture should not require dismantling several treads.
Fascia Can Finish the Stair Without Hiding Problems
Stringer fascia and risers can give composite stairs a complete appearance, but they should be installed only after geometry, fastening, and drainage have been inspected. Tight trim can trap debris or conceal a weak connection. Allow required clearances and follow fastening schedules for the trim product.
Coordinate the tread, riser, and fascia colors with the main deck. A darker edge can define each step, while a matching finish creates a quieter look. Test the combination outdoors using the outdoor color testing guide process.
Build One Full-Scale Step Before Finishing the Flight
A mockup using the actual stringer spacing, tread boards, gap, nosing, riser, fasteners, and fascia can expose conflicts that drawings miss. Check whether the board profile leaves a visible underside, whether screws land over solid support, and whether the finished tread feels comfortable with typical footwear.
Place the sample in similar light and wet it safely to review color and texture. Confirm that the proposed cleaning tools can reach the joint between tread boards. If the mockup changes the calculated rise or run, resolve the stair geometry before duplicating the detail.
Keep one labeled offcut after construction. It can help identify the collection and color, test a future cleaner, or show how a replacement plug should fit without experimenting on the installed stair.
Inspect the Flight as a Route, Not a Set of Parts
Walk the completed route in daylight and after dark. Check the transition from deck to first tread, every riser, the lower landing, handrail continuity, headroom, drainage, and nearby gates or doors. Look from the side for uneven nosing and from below for unsupported joints.
Explore decking and flooring options choices only after the stair requirements are known. You can contact Composite Deck Pro with the total rise, stair width, landing conditions, board collection, railing plan, and local requirements that will govern the final assembly.