
Do Not Cover the Old Boards

Composite decking over an existing wood deck should usually mean resurfacing a sound frame after removing the worn wood boards. Installing new decking directly on top of old boards can trap moisture, raise thresholds and stairs, hide damage, and leave no proper fastening layout.
The real opportunity is to preserve usable structure while replacing the walking surface. The wood versus composite comparison, installation planning guide, and deck lifespan article resources help judge the project as a system rather than a cosmetic cover-up.
Demolition Is the Inspection Window
Once the old boards are removed, clean the frame and inspect footings, posts, beams, ledger, joists, blocking, hangers, and fasteners. Pay close attention to joist tops, end grain, connections, and locations where leaves or planters held moisture.
Probe questionable wood and involve a qualified professional when structural condition is uncertain. New boards should not outlast the frame that carries them.
- Remove the old deck boards instead of trapping them below composite.
- Inspect the full load path from footings to ledger and joists.
- Measure joist spacing and check the frame for flatness and square.
- Repair damage and add blocking before applying joist protection.
- Plan borders, stairs, fascia, and railing connections before decking begins.
The Old Layout May Not Fit the New Board
Existing joist spacing may be irregular or too wide for the selected composite profile, especially with diagonal boards. Old butt-joint locations may lack support for hidden clips. Add joists, sister framing, or blocking according to the product guide and structural requirements.
This is where the grooved decking guide, composite deck board guide, and edge finishing guide articles become practical. The board profile, fastener, border, and frame must be designed together.
Make the Frame Flat Before It Disappears
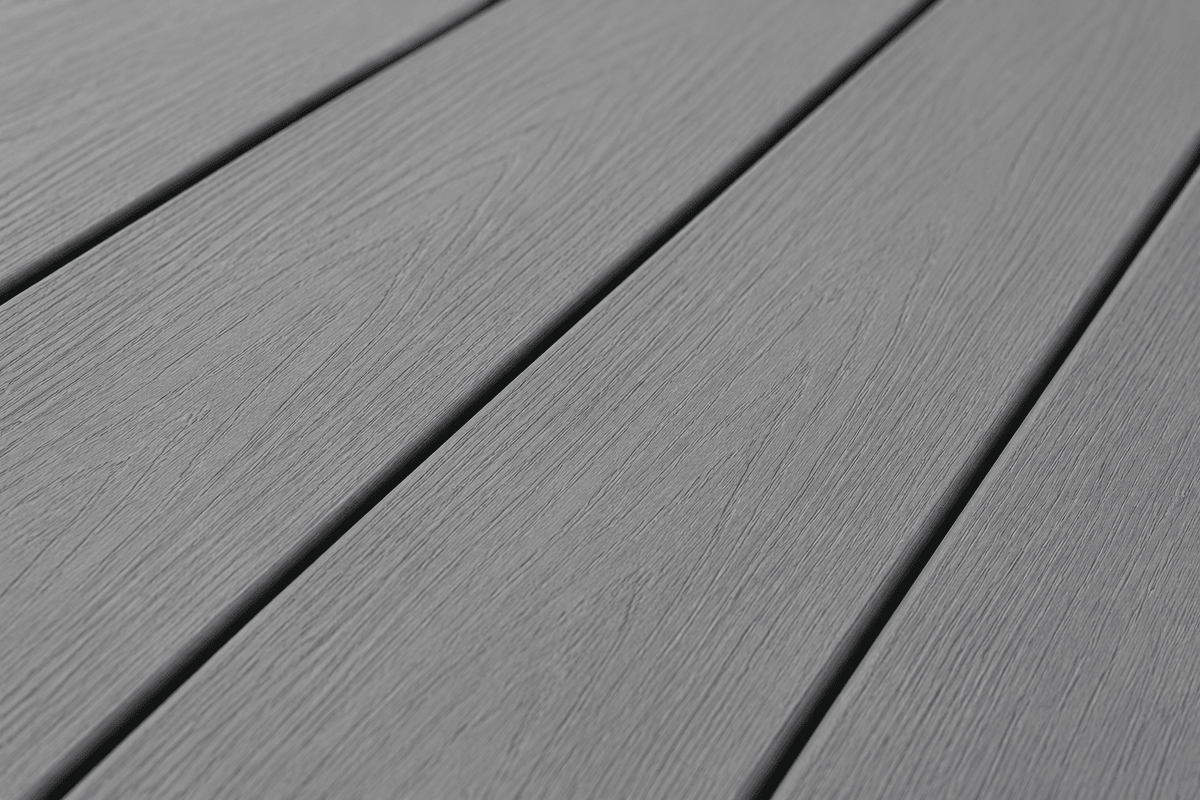
Composite boards can reveal crowned, twisted, or uneven joists through wavy lines and inconsistent gaps. Plane, shim, sister, or replace framing using appropriate methods before installing the surface. Check drainage slope and make sure the ledger and house interface are protected.
Joist tape or flashing may help protect repaired framing when installed correctly, but it cannot restore rotten wood or correct a bad load path. The moisture-planning guide guide keeps protection in perspective.
Stairs and Railings Change the Scope
Resurfacing often grows when stair treads, stringers, guard posts, and railing connections are inspected. New board thickness can affect riser consistency and fascia alignment. Old railing posts may not suit the new system or current project requirements.
Include these details in the estimate instead of pricing only the flat deck area. The complete deck budgeting article article provides a broader checklist for demolition, disposal, repairs, fasteners, and finish materials.
Use a Pass, Repair, or Rebuild Decision
Give each part of the exposed structure one of three outcomes. A passing component is sound, correctly sized for the intended design, and properly connected. A repair item has a defined correction, such as replacing limited damaged blocking, flattening a joist line, or adding support for a border. A rebuild item shows widespread decay, movement, inadequate structure, or a layout that cannot reasonably support the new system. This method prevents vague optimism from becoming the project standard.
Look beyond the center of the deck. Ledgers, beam tops, post bases, stair connections, outside rims, and areas below planters or roof runoff often experience different moisture conditions. Rusted connectors, old notches, improvised repairs, and soil contact deserve attention even when nearby joists look clean. Where code or structural judgment is involved, use a qualified local professional rather than treating a surface replacement as proof that the frame is safe.
After repairs, create the exact fastening map. Mark border blocking, butt-joint support, railing-post reinforcement, and stair details. Verify that hidden-fastener screws will land near the center of usable framing and that face-fastened edges have the required support. If joist spacing must be reduced, account for plumbing, wiring, drainage, and access below before adding new members.
Resurfacing is also the right time to improve water management. Clean the joist bays, correct places that trap debris, repair flashing at the house as required, and apply compatible protection only to sound, dry framing. Do not wrap components in a way that holds water. Photograph every repaired connection and protected joist before decking covers them.
Finally, compare the approved repair scope with a full rebuild. If extensive framing, stairs, guards, and footings all need work, preserving a small portion of the original structure may add complexity without meaningful savings. If most of the load path passes and corrections are limited, resurfacing can be efficient. The decision should follow documented condition and compatibility, not the understandable desire to avoid demolition.
Resurfacing Works When the Frame Earns It
Keeping a sound frame can reduce material, demolition, and project time. Keeping a questionable frame merely delays a larger repair. Document what remains, what is replaced, and how the new board requirements are met. Save framing photos before the surface hides the work.
If the structure passes inspection, resurfacing can deliver a substantial visual and maintenance change without rebuilding everything. Explore decking and flooring options options and low-maintenance decking overview, or contact Composite Deck Pro with photos of the exposed frame, measurements, and the intended board layout.