
A Gap Is Working Space

A composite decking expansion gap gives boards room to respond to temperature while supporting drainage and installation tolerances. The required space is not an aesthetic guess. It depends on the material, board length, location of the joint, fastening system, and temperature during installation.
Use the current guide for the exact product. The installation planning guide, grooved decking guide, and composite deck board guide resources provide planning context, but another brand's dimension should never replace the selected manufacturer's instruction.
Side Gaps and End Gaps Do Different Jobs
Side-to-side gaps form the repeated lines between boards and help water and debris move through the surface. Hidden clips may set these gaps automatically. End gaps occur where boards meet each other or a fixed object, and usually need direct measurement.
Walls, posts, picture-frame borders, and door thresholds deserve special attention because movement can become trapped there. The edge finishing guide and moisture-planning guide guides help coordinate finish details with drainage.
- Check installation temperature before cutting final board lengths.
- Measure end gaps at butt joints and fixed objects.
- Confirm whether hidden clips set only side-to-side spacing.
- Keep gaps free of caulk, adhesive, and packed debris unless specifically approved.
- Recheck alignment and accumulated width every few rows.
Temperature Changes the Starting Point
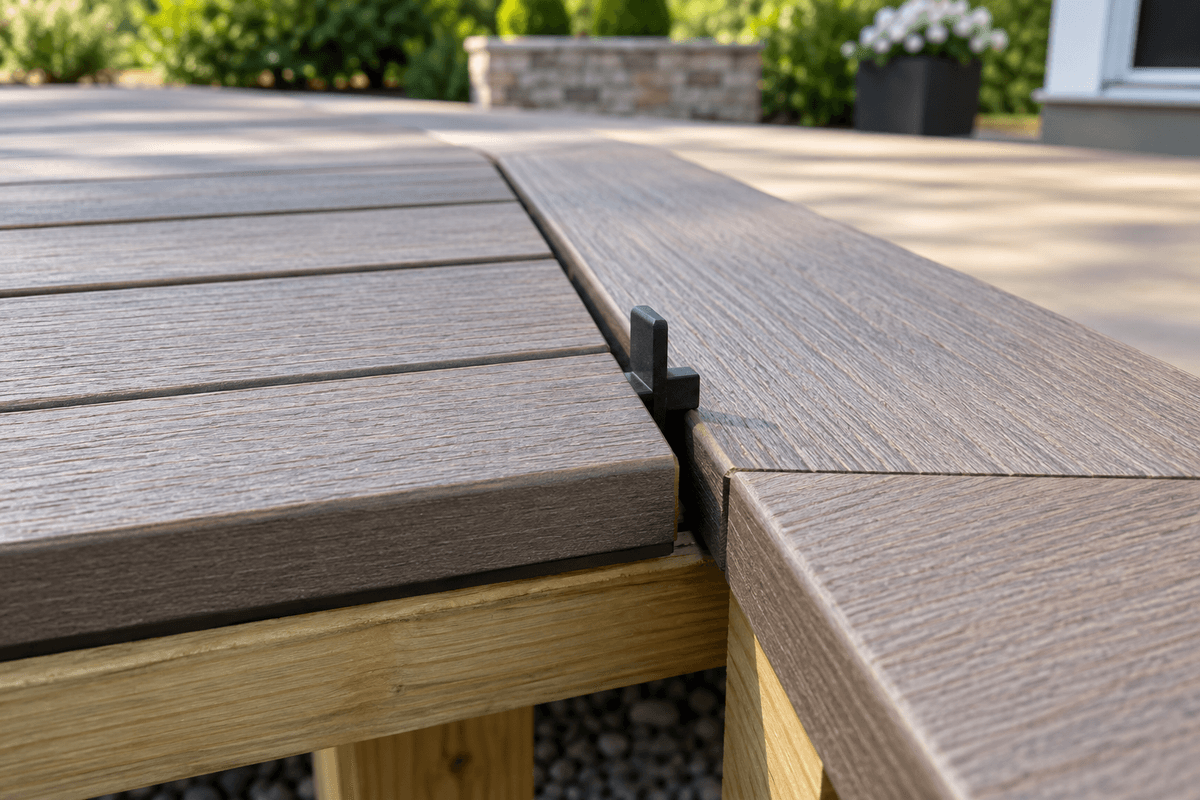
A board installed on a cool morning may expand later in direct summer sun. A board installed during extreme heat may contract as conditions moderate. Manufacturer tables may use board length and installation temperature to determine the end clearance.
Store boards as directed and let the crew measure the actual site conditions. Do not cut every piece days in advance based on a single assumed gap.
Butt Joints Need Framing as Well as Space
Two board ends meeting over one narrow support can leave poor fastener placement. Many systems call for doubled joists or additional blocking so each end and clip has adequate support. The joint pattern should be decided before decking begins.
Breaker boards can replace scattered butt joints and create a deliberate design line, but they also require blocking and edge planning. Include those materials in the complete deck budgeting article calculation rather than treating the detail as free.
Do Not Fill the Movement Zone
Caulk, adhesive, dirt, leaves, and hardened debris can prevent a gap from doing its job. Keep the surface clean and make sure water can leave the assembly below. A narrow gap is not useful if the substructure creates a basin.
The cleaning routine and low-maintenance decking overview articles describe practical routines. Pay special attention after autumn leaf fall, nearby construction, or landscaping work that pushes soil and mulch toward the deck.
Check the Gap at Every Constraint
Make a gap schedule for the project instead of relying on one spacer. List field-board side gaps, board-to-board end gaps, clearances at walls and posts, border conditions, and transitions to other materials. Beside each location, record the instruction source and the temperature assumptions. This turns scattered notes into a checklist the installer can use while cutting and fastening.
Long runs deserve extra control. Even a small variation repeated across many boards can shift the final row noticeably. Snap reference lines, measure cumulative width, and correct gradual drift before it reaches a doorway, stair opening, or picture-frame border. When boards are not perfectly straight, pull them into alignment only with tools and methods allowed for the system; forcing one edge can transfer the problem into later rows.
At fixed objects, think in three dimensions. The board needs room at its end, but water also needs a path below and beside it. Siding details must preserve required clearance, and door thresholds cannot be buried by the new surface. Around posts, neat trim should not lock the deck board tightly in place. Any decorative cover must allow the intended movement and remain accessible for inspection.
Butt joints require consistent measuring on both boards. Random joints scattered through the field can produce many small places where spacing, support, and visual alignment must all be correct. A planned breaker board may simplify the pattern, especially on a wide deck, although it adds framing and fastening work. Select the layout that can be built accurately rather than the one that looks simplest in a small sketch.
Complete a final inspection before adding fascia or closing access below. Look for boards contacting masonry, posts, walls, or each other; check that drainage paths remain open; and remove debris from every joint. Record installation temperature and photograph representative gaps. Those small observations provide useful maintenance and warranty documentation while the details are still visible.
The Correct Gap Is Product Specific
Too little space can create contact and pressure; excessive gaps can look poor, catch small objects, and weaken the visual rhythm. Precision comes from the product instructions, a square frame, consistent tools, and checks during installation.
Review decking and flooring options options along with their installation documents. You can contact Composite Deck Pro with board length, site temperature range, layout, fastening system, and joint locations before finalizing the material plan.