
Installation Starts Below the Surface
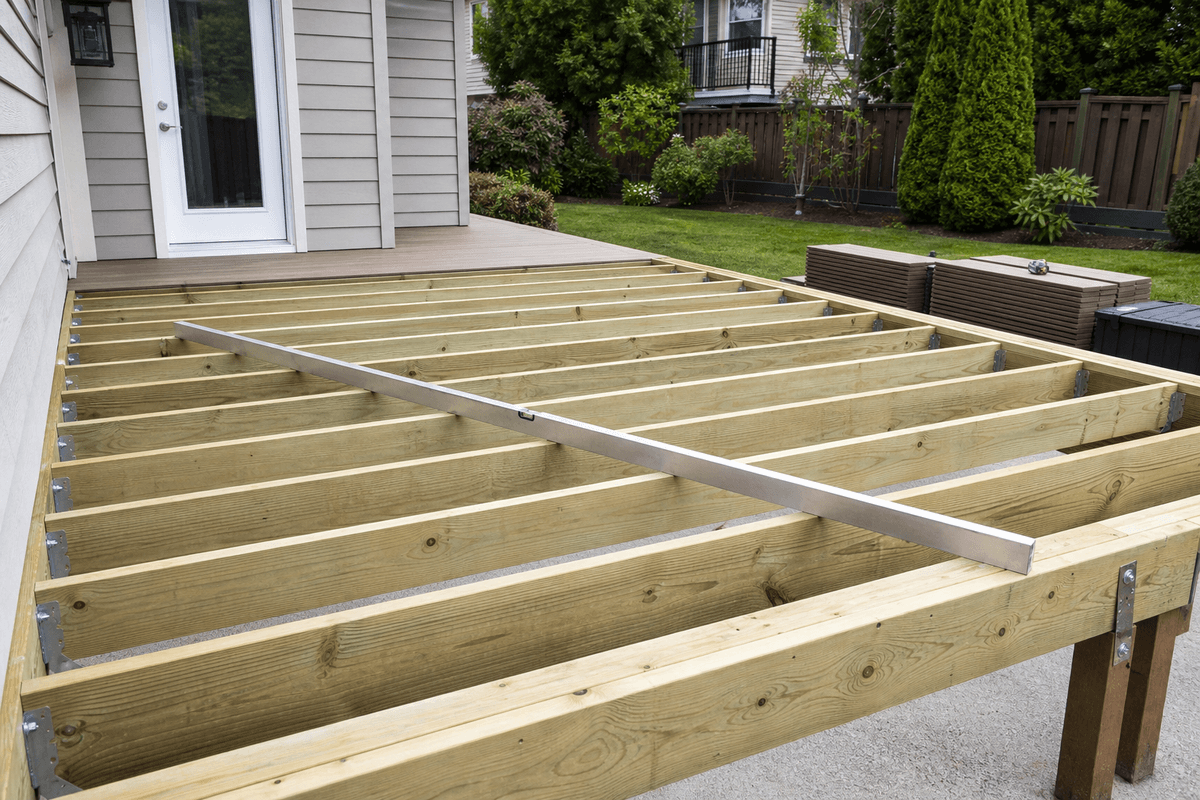
Many homeowners search how to install composite decking and jump straight to boards, clips, and screw patterns. The cleaner approach starts lower. Composite deck boards perform best when the frame is flat, properly supported, well ventilated, and ready for the movement that comes with outdoor temperature changes. If the framing is uneven, even expensive boards can look wavy once the sun catches the surface.
Use the composite decking installation guide, expansion gap planning guide, deck board sizing guide, composite deck board guide, and decking and flooring options to connect product choice with layout before material is ordered. Composite decking is not difficult to understand, but it is less forgiving when the planning is vague. A thoughtful start saves awkward cuts, rushed transitions, and callbacks later.
Check the Frame Like It Will Be Visible
The finished surface hides the structure, but it cannot hide a structure that is out of plane. Before decking arrives, confirm joist spacing against the board manufacturer's instructions, check that blocking is in place where boards end, and correct high spots. A long straightedge or tight string line can reveal problems that are hard to see when standing over the frame.
Drainage also matters. Leaves, dirt, and water should not be trapped under boards or against house walls. If the deck is low to the ground, ventilation becomes even more important. This is where composite installation planning feels less glamorous than color selection, but it is the part that gives the finished deck its calm, even appearance.
- Confirm joist spacing for the board profile and intended board angle.
- Add blocking wherever butt joints, picture frames, stair details, or breaker boards need support.
- Slope, flashing, and drainage should move water away from the house.
- Leave access for cleaning debris from low or enclosed areas.
- Replace weak or decayed framing before covering it with new boards.
Dry-Run the Board Layout
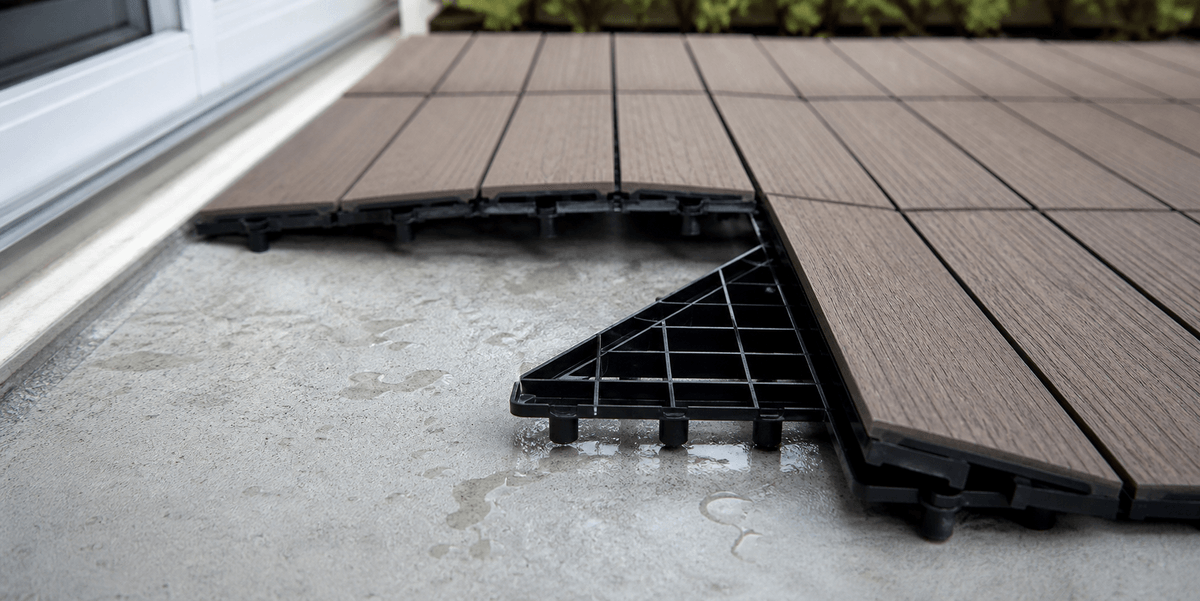
A dry layout is one of the simplest ways to make a deck look planned rather than pieced together. Decide where full boards will start, how the final board will finish, and where seams will land. If the deck has a doorway, stairs, or a prominent seating area, align the visual rhythm from those viewing points first.
Picture-frame borders can help because they create a finished edge and hide small layout compromises. Breaker boards can divide long runs and reduce awkward butt joints. These details are not just decorative; they give the installer a cleaner way to manage board lengths, expansion gaps, and traffic patterns.
Fastening Should Match the Board Profile
Grooved boards usually work with hidden clips, while square-edge boards are often used for borders, stairs, fascia details, or face-fastened locations. Mixing these profiles can make sense, but only when it is planned from the beginning. Hidden fasteners create a clean field, but perimeter pieces still need secure attachment and enough framing underneath.
Do not improvise clip spacing or screw placement. Composite boards expand and contract, and fastening controls how that movement behaves. Follow the board maker's instructions for end gaps, side gaps, fastener type, and minimum distance from board ends. The expansion gap planning guide is especially useful when the project includes long board runs or dark colors.
Edges, Stairs, and Fascia Decide the Finish
A deck can be technically sound and still feel unfinished if the edges are treated as an afterthought. Stairs need consistent nosing, secure tread support, and visible transitions. Fascia should be attached in a way that allows movement and does not trap water. Border boards should be supported by framing rather than floating at the edge.
This is also where the design choices come together. A border color from the composite decking color guide article can connect with railing posts, stair details, or exterior trim. Around pools or damp areas, review the pool deck planning guide, slip-resistant composite decking guide, and waterproof composite decking guide before finalizing the surface and cleaning routine.
Plan for Maintenance While Installing
Composite decking is chosen partly because it reduces ongoing upkeep, but low maintenance is not the same as no maintenance. During installation, leave room to remove debris from gaps, avoid creating pockets where mulch can pile against boards, and keep sprinklers from constantly wetting the same area. A deck that is easy to rinse and inspect will age better than one that is sealed into a dirt trap.
After installation, use gentle cleaning habits from the composite deck maintenance tips and avoid harsh methods that can damage the cap or surface texture. If you are comparing board types, accessories, or layout details, contact Composite Deck Pro before ordering. A few questions early can prevent a very visible compromise later.
A Good Installation Looks Quiet
The goal is not to show how complicated the work was. The best composite decking installation looks quiet: straight board lines, intentional borders, stable stairs, clean transitions, and no distracting pattern of seams. Start with the frame, plan the layout, match fasteners to the board profile, and protect the places where water and movement create stress. Once those fundamentals are right, the boards can do what they were chosen to do.